
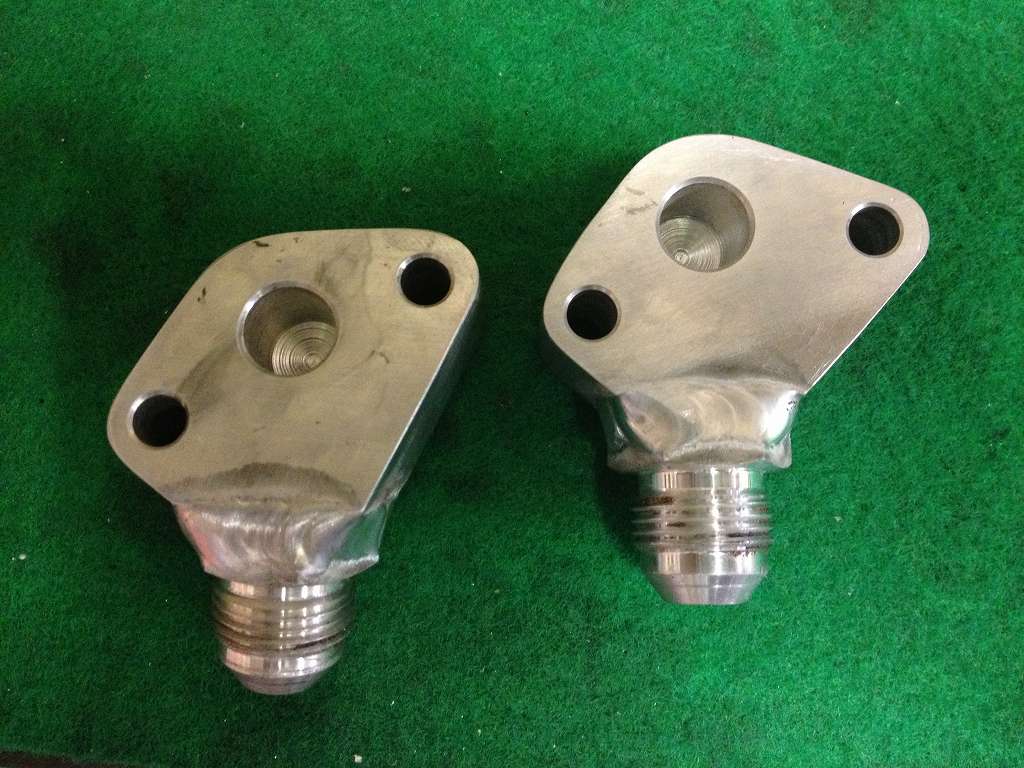
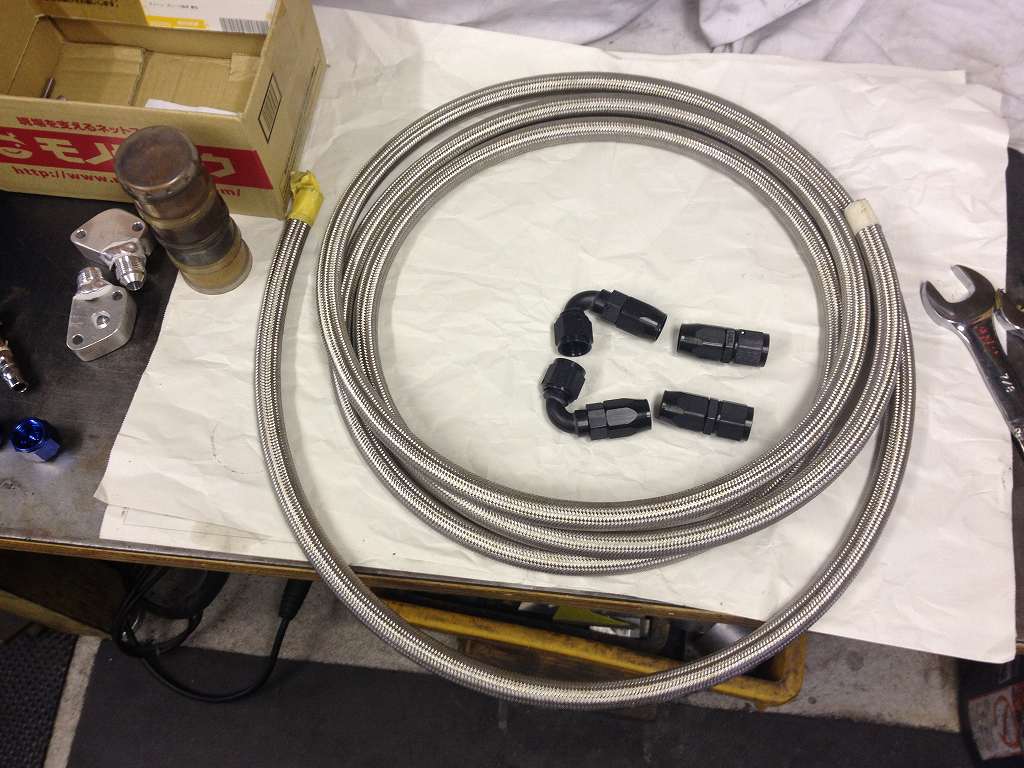
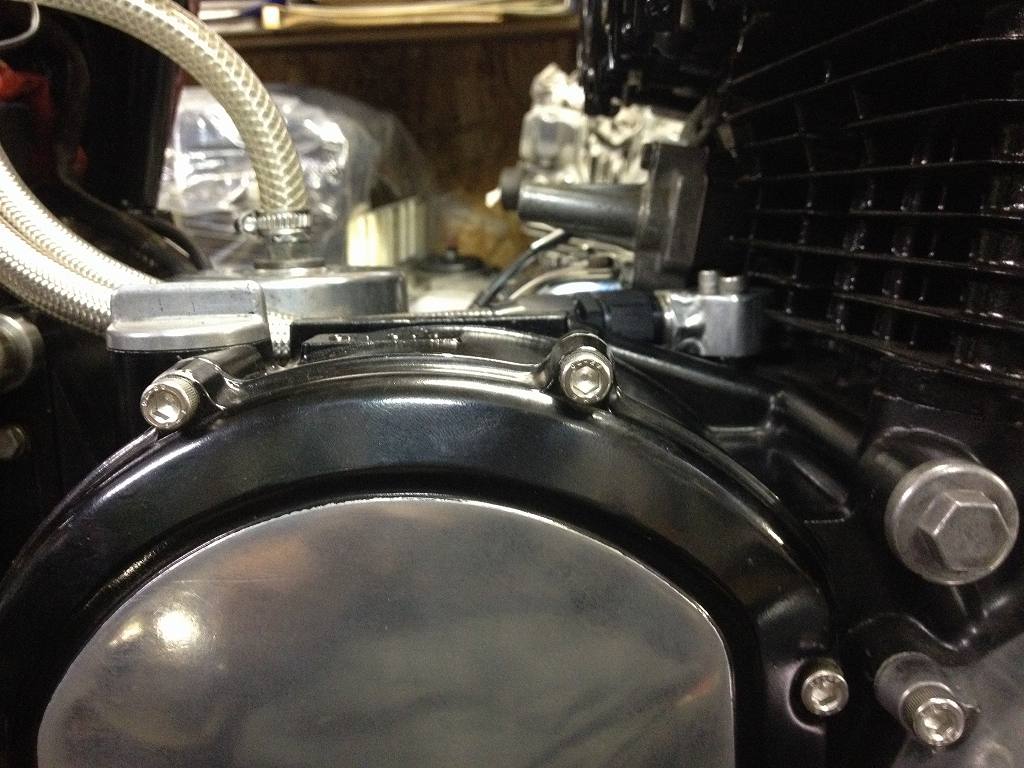
フィッティングの方向を吟味して作った取り出し口です。
・
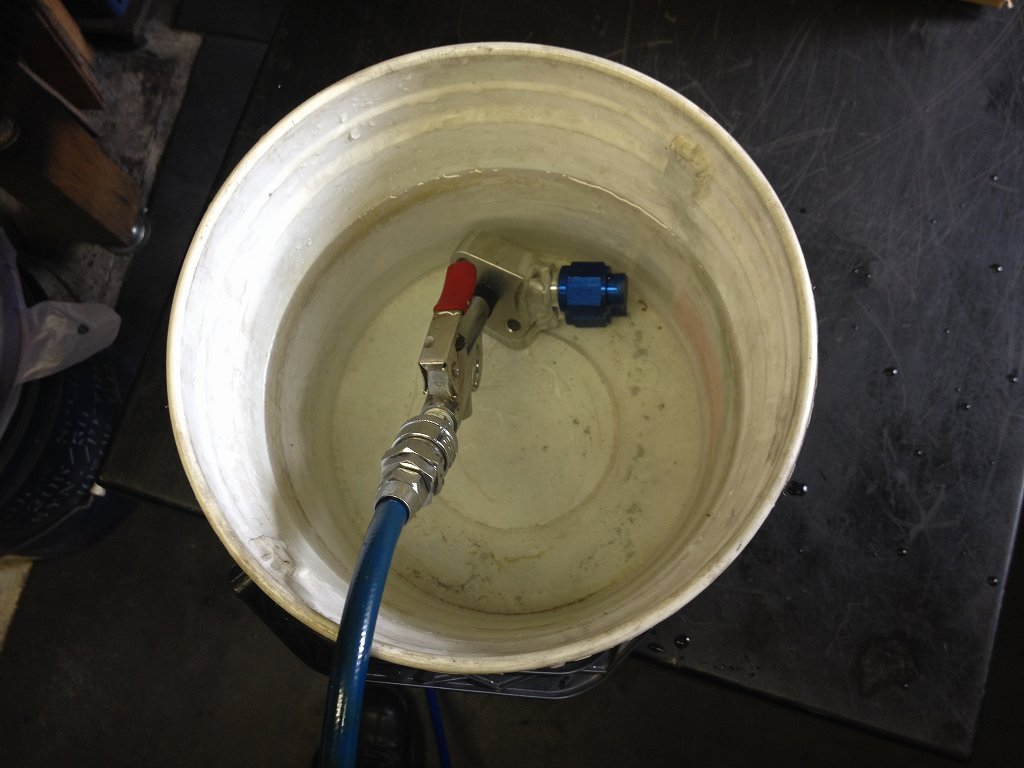
溶接個所に漏れが無いか水中で確認します。
・
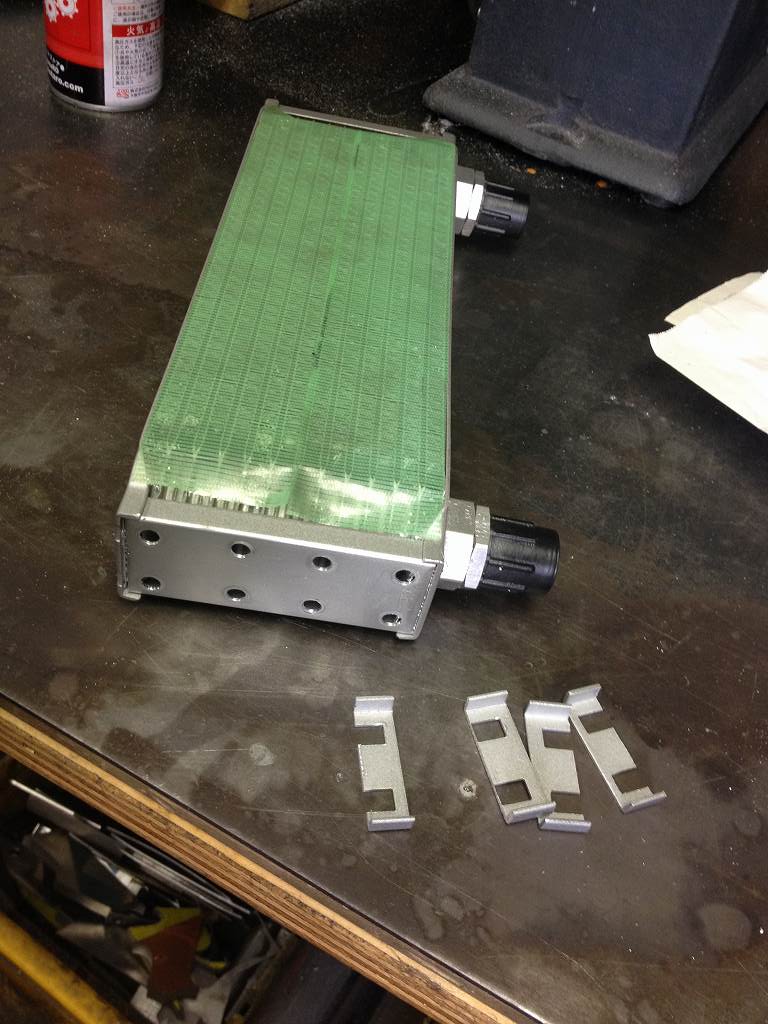
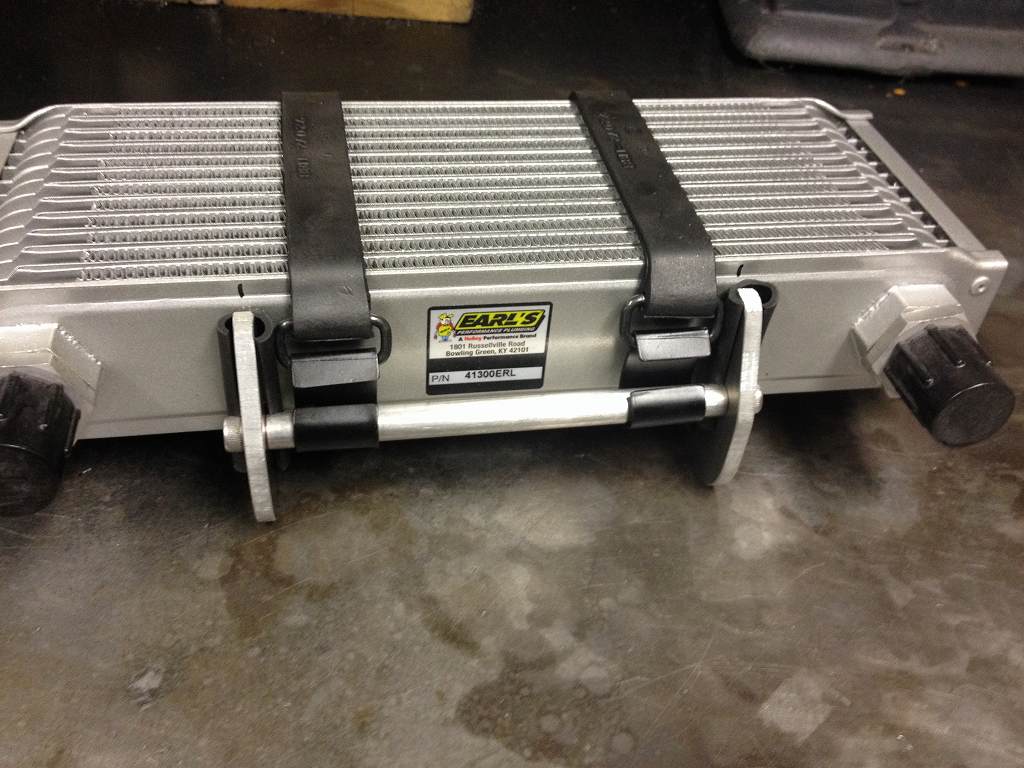
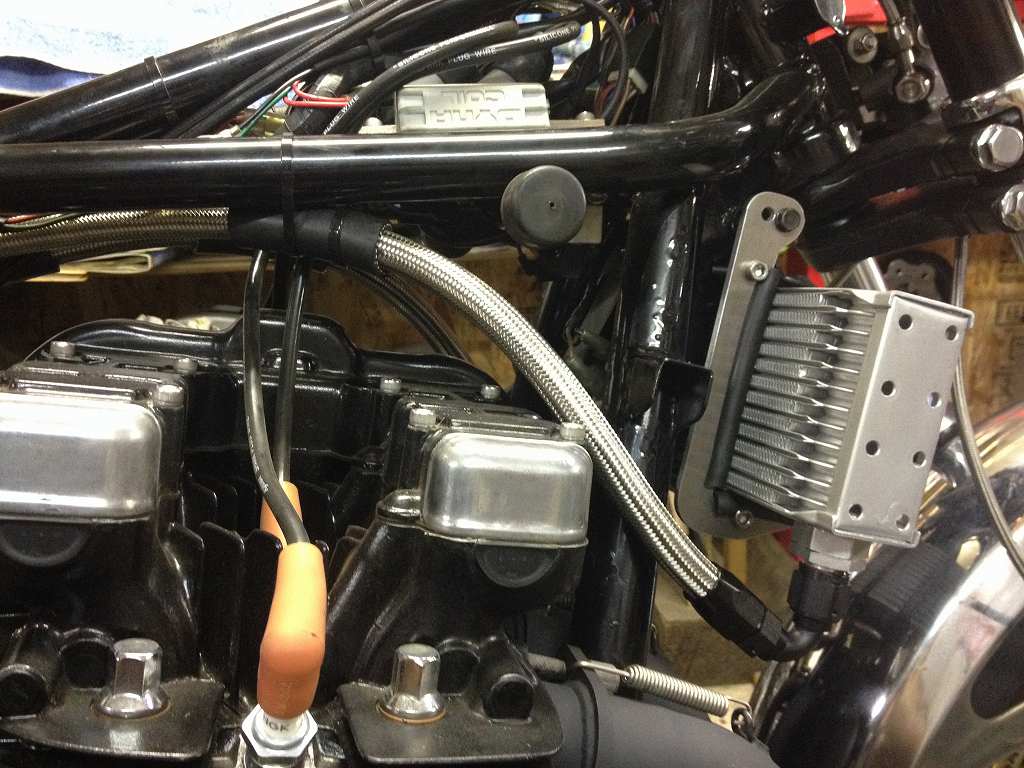
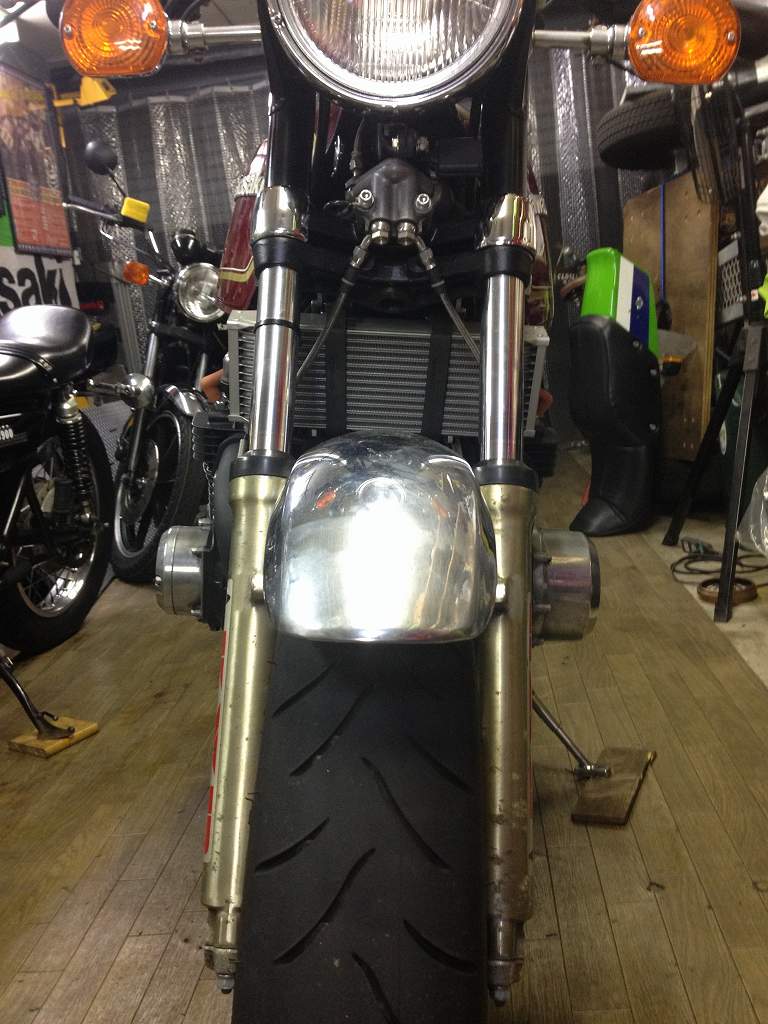
コアは、耳をカットしてサイドに穴を開けて当時の雰囲気を作ります。
・
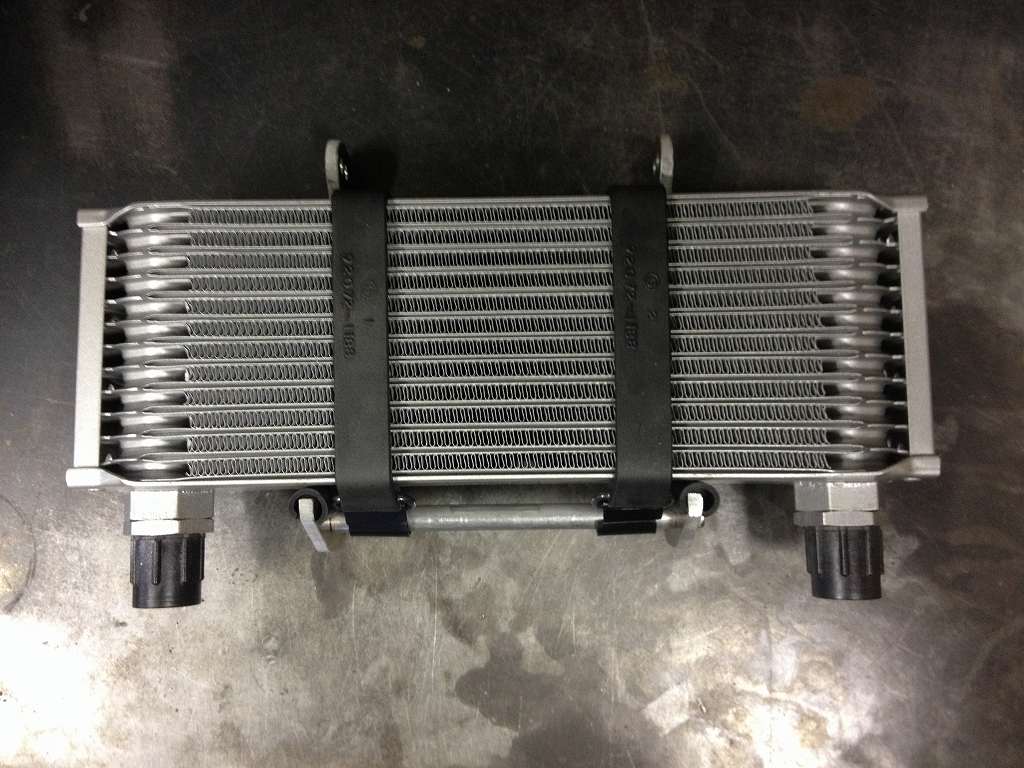
コアはブラケットにバンド2本で固定します。
・
バンドはカワサキの純正品です。
・
ホースは現車合わせで長さを決めて作ります。
・
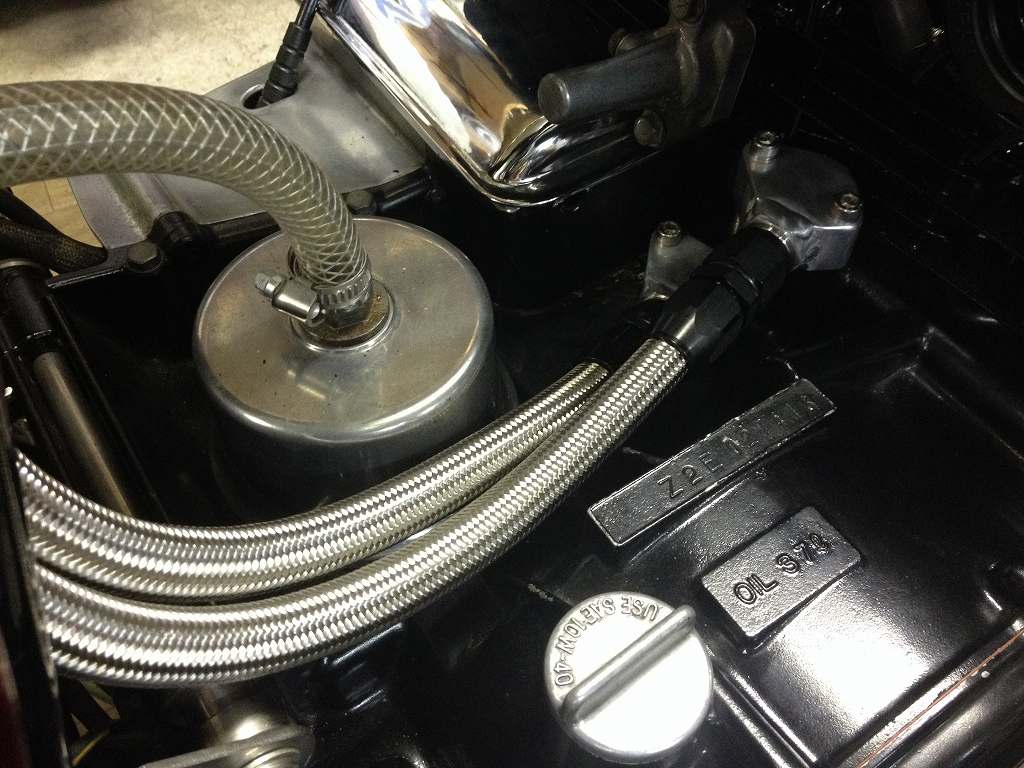
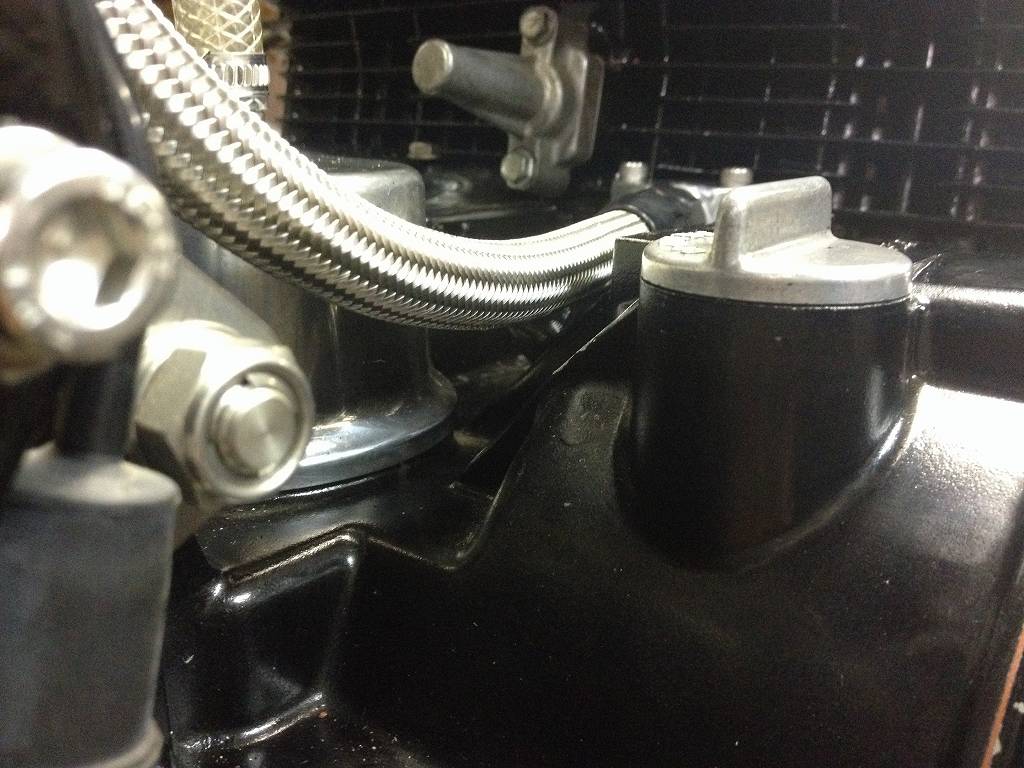
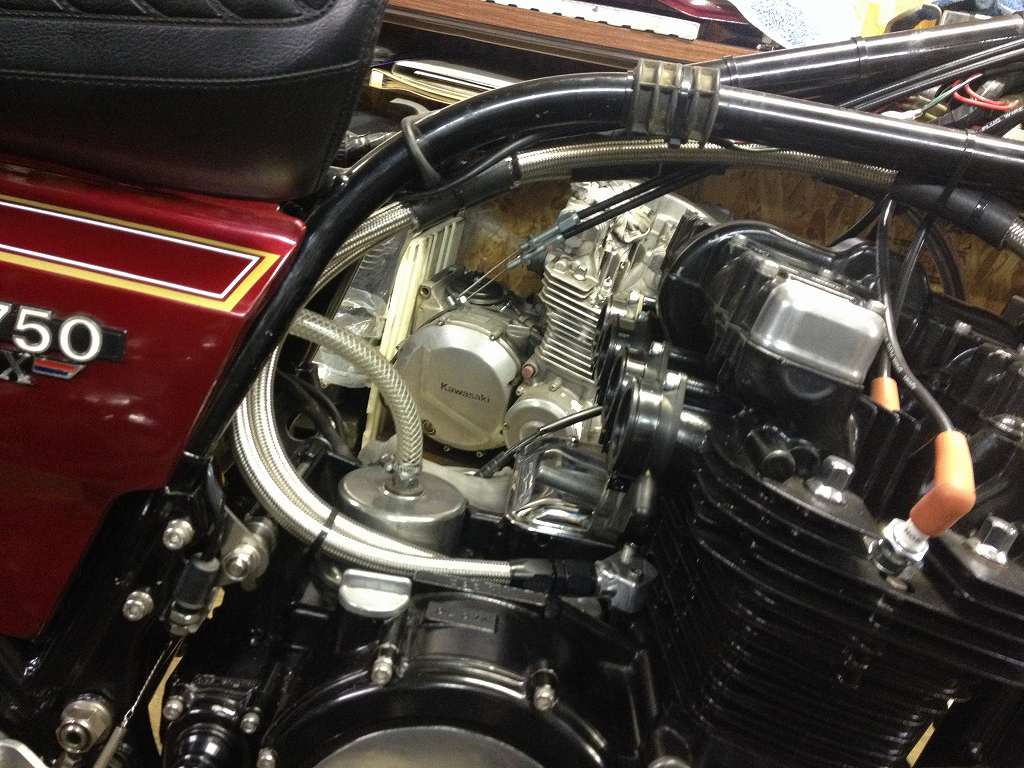
クランクケースの谷間を抜けるようにホースは配置します。
・
キャブセッティングの時もホースは邪魔になりません。
・
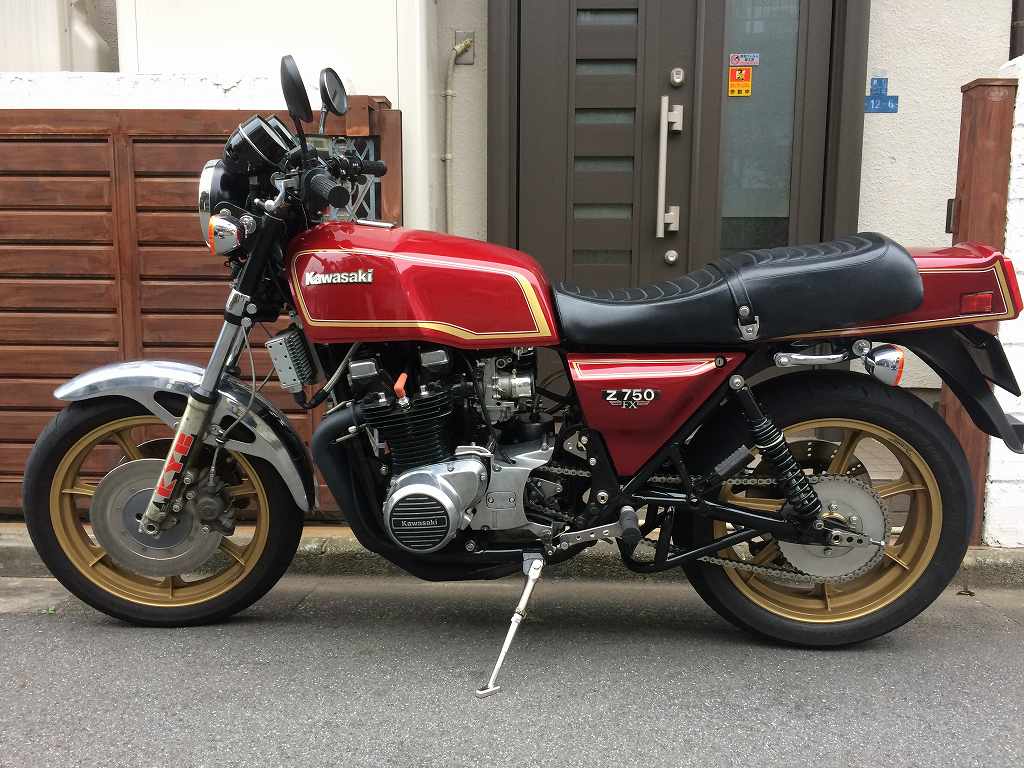
ホースはフレームに沿って上回しにします。
・
ワークスMk2と同様に、120°フィッティングでコアにつなぎます。
・
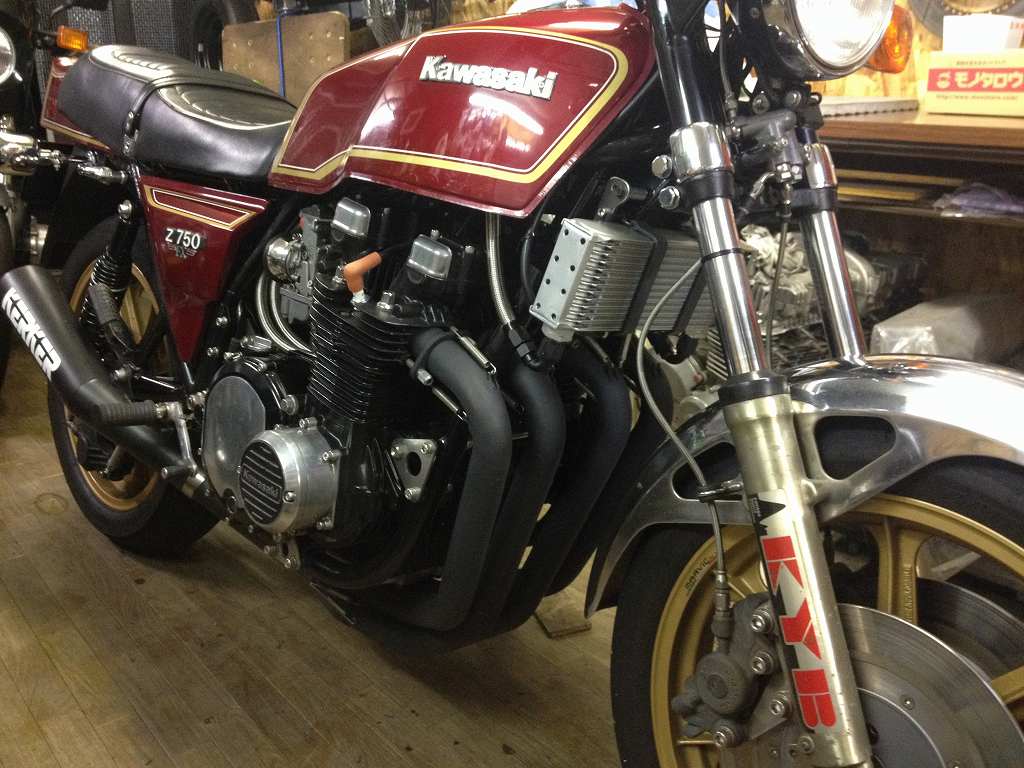
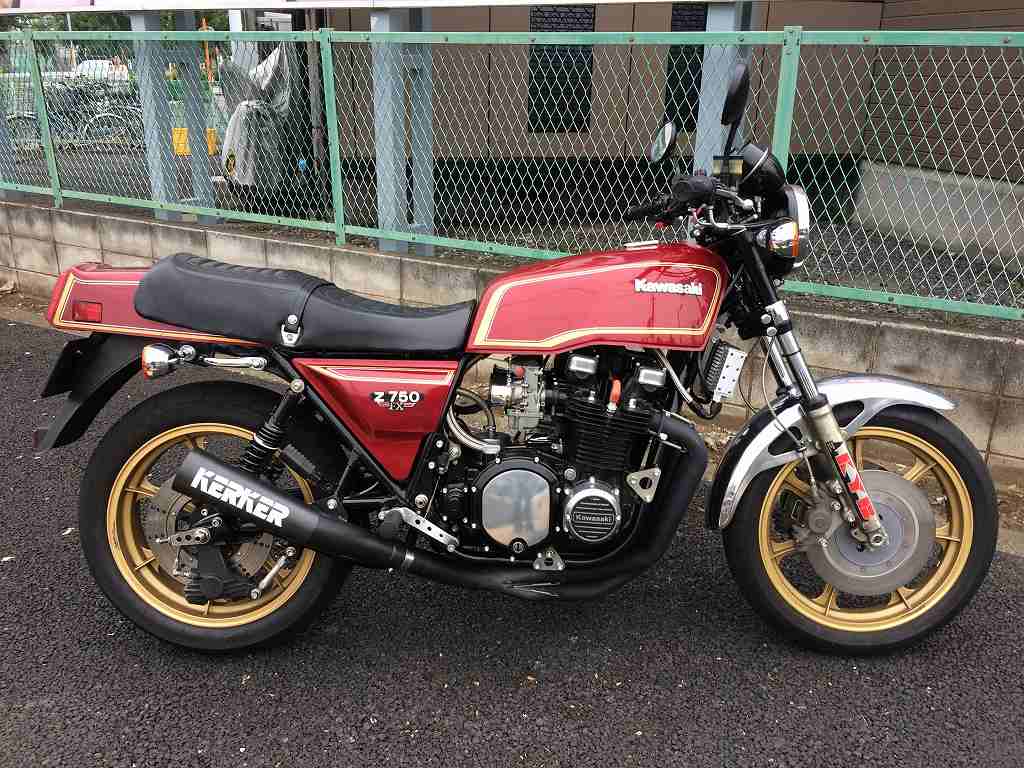
取り付け終了。
・
漏れが無いかチェック走行で確認して完成です。
コメント